Go to the table of contents
| 2. Osprey Installation |
This section describes how to obtain and install Osprey on supported operating systems. The following lists the operating systems in which Osprey can be installed:
If you are currently not running one of these operating systems, Osprey will not work with your computer. We are looking into solutions for other systems, such as Solaris, so if your system is not currently supported, please be sure to check back as we continue to make updates.
| 2.1 Obtaining Osprey |
Before proceeding with installation, you must first obtain a copy of the Osprey installer that is appropriate for your system. The following subsections outline where and how to get the installer. To obtain Osprey, you must be on a computer that is connected to the internet.
| 2.1.1 The Osprey Homepage |
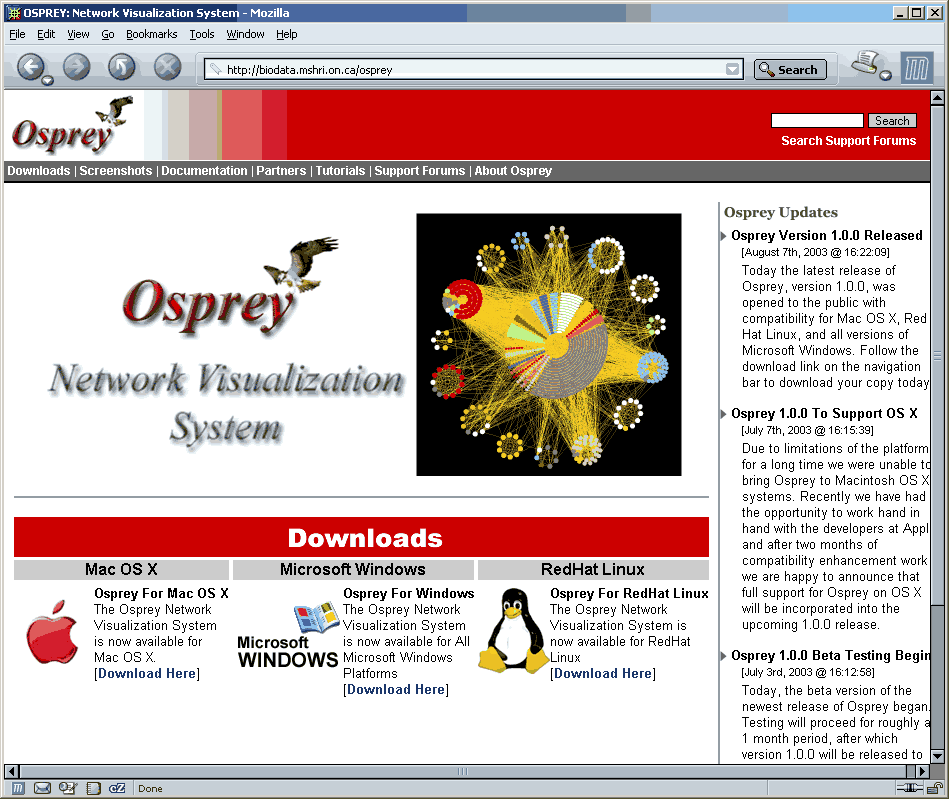
To obtain a copy of Osprey, you must first visit the Osprey homepage located at [ http://biodata.mshri.on.ca/osprey ]. If you are unable to access the internet in order to visit the Osprey homepage, you may request a CD copy of Osprey by contacting us.( see section 1.4 Contact Information ).
Figure 2.1.1 - 1: The main page of the Osprey homepage
| 2.1.2 Registering |
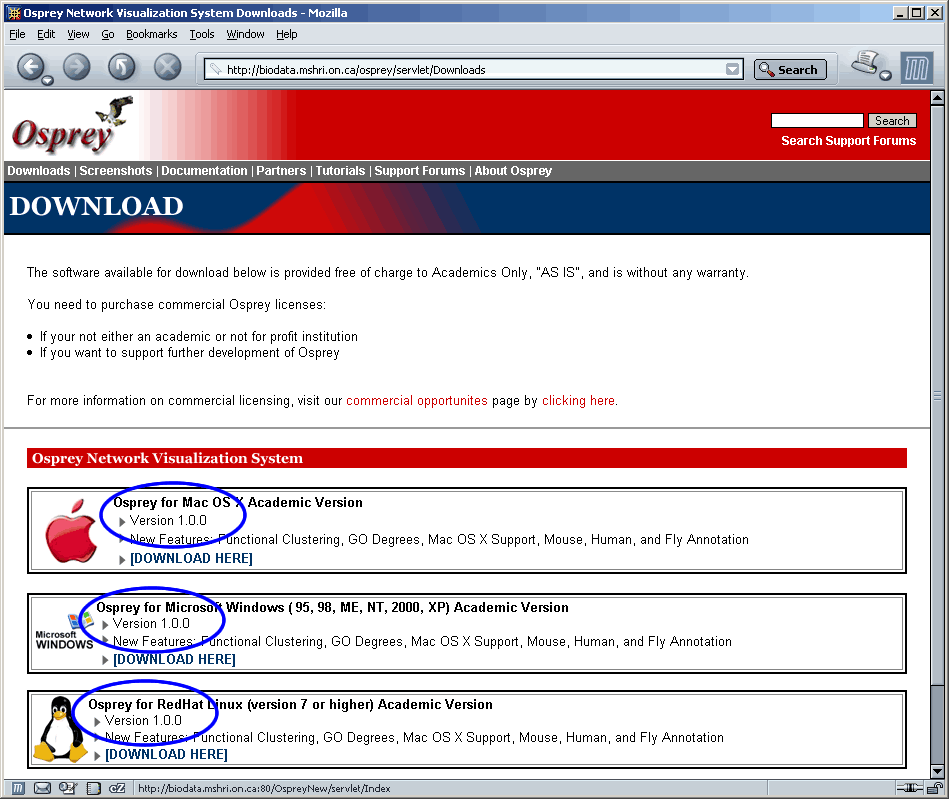
In order to download Osprey, you must first register and obtain a password. Registration is easy, and completely free. Simply click on the Download link of the operating system you are using to begin the process.
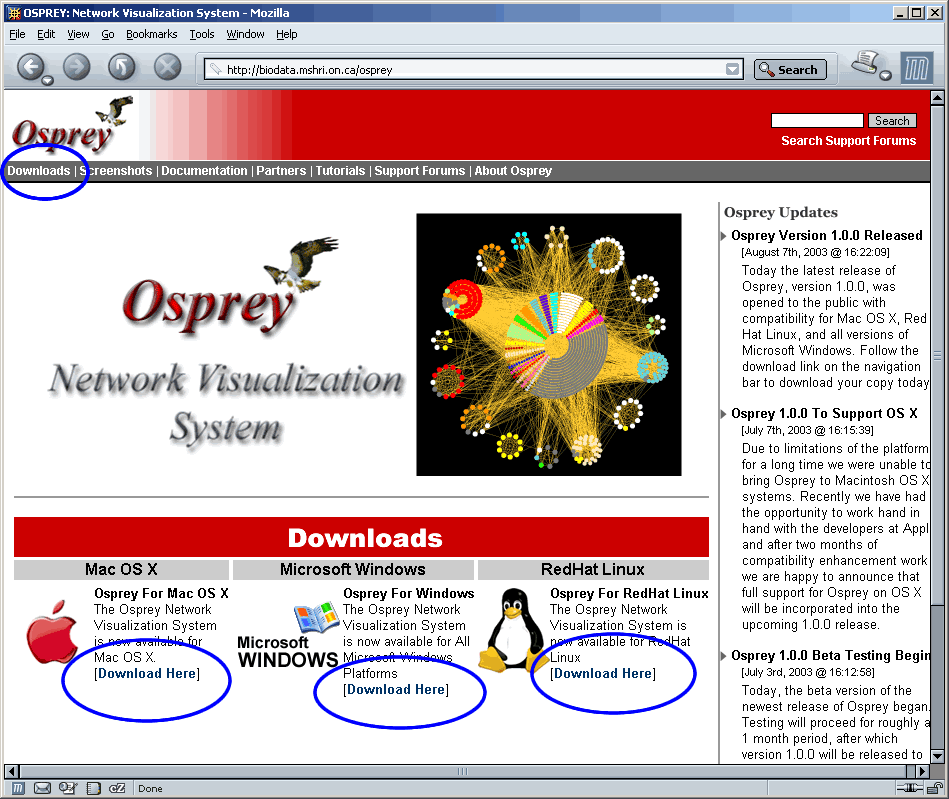
Figure 2.1.2 - 1: The location of the Download link on the Osprey homepage
There are two versions of Osprey available for download. The academic version and our 30-Day trial version (see figure 2.1.2 - 1b). You must download the 30-Day trial version if you fall into any of the following 3 categories:
The 30-Day trial version is a fully functioning version of Osprey for testing use by Commercial organizations. After 30-Days, you will need to purchase an Osprey license (http://biodata.mshri.on.ca/osprey/servlet/CommercialRegistration) to continue using Osprey. All academic users are free to download our fully functioning and free Osprey academic version for all major platforms.
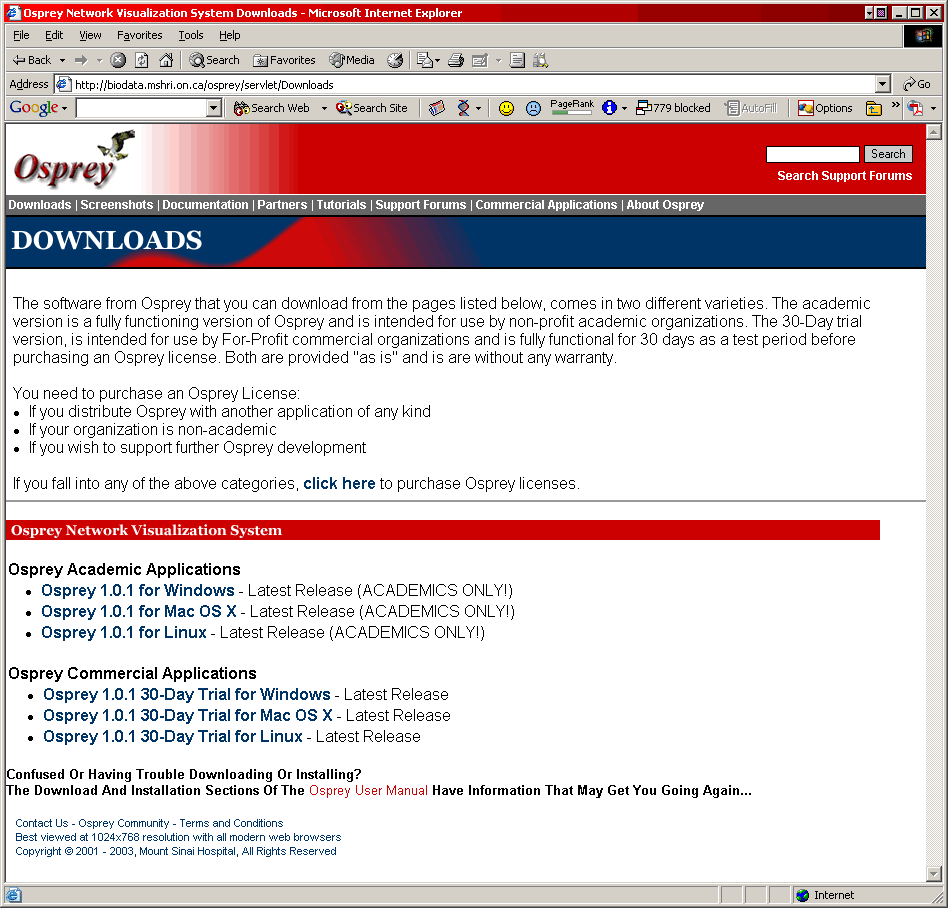
Figure 2.1.2 - 1b: The Osprey download page, with all versions both Academic and Commercial available for download
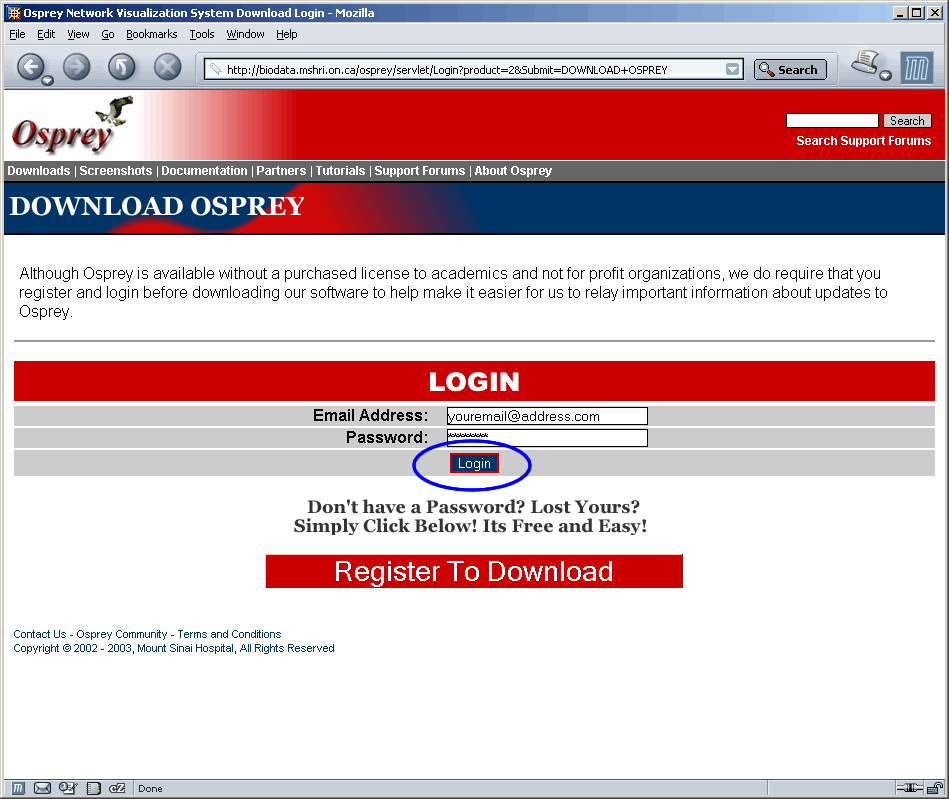
Choose the version that is appropriate for you (academic or commercial) and the platform you will be running Osprey on (Mac OS X, Windows, or Linux), by clicking the link associated with that version. This will take you to the Osprey download login page. If you already have an account, you can simply login here to proceed with the download. If you do not have an account simply click the large red button entitled "CLICK HERE TO REGISTER" to proceed with Osprey download registration.
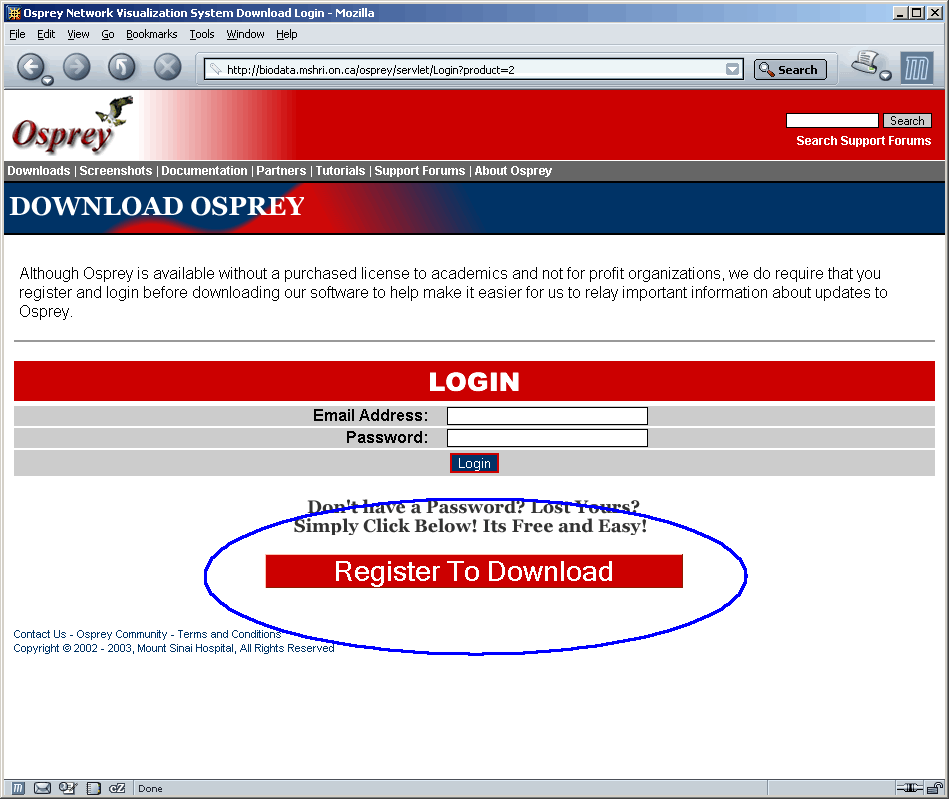
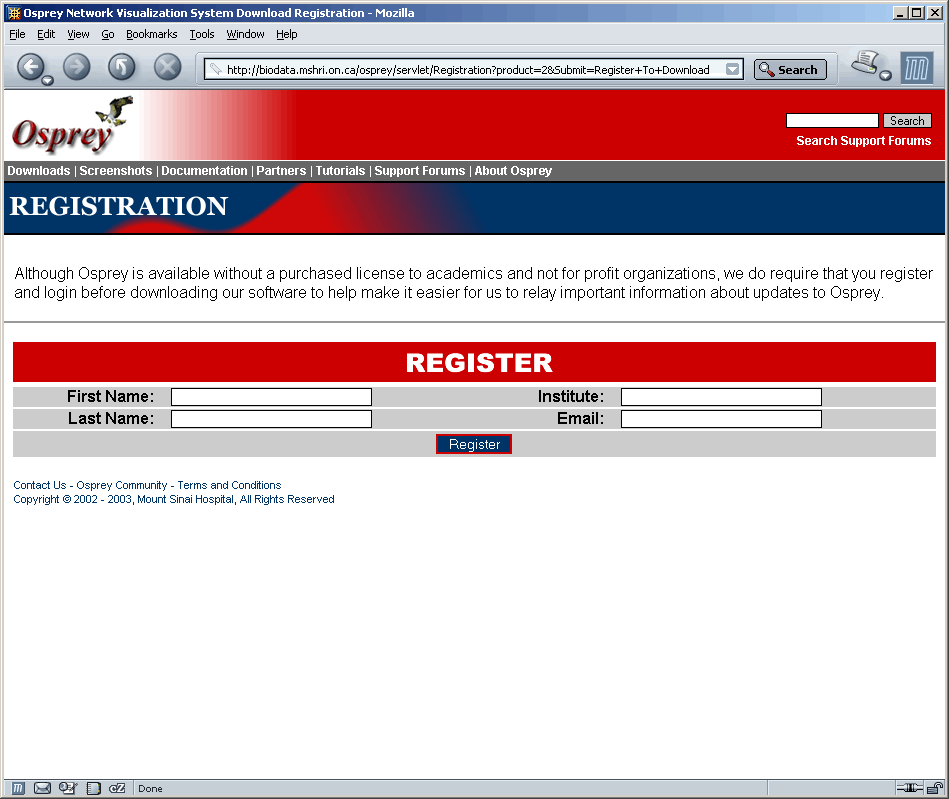
Fill in all of the fields and click the register button to register with Osprey. Please ensure that you have used an email address that is valid, because all Osprey correspondence, including obtaining passwords, will be done via this account.
| 2.1.3 Downloading |
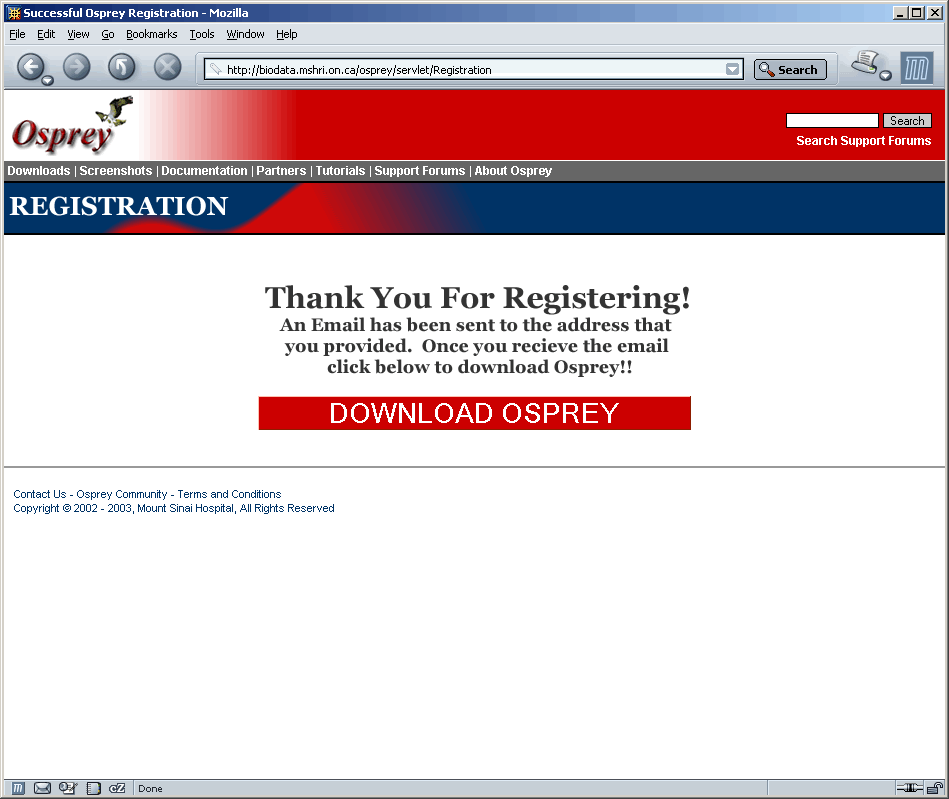
Once you have registered, and you have received an email from Osprey containing your account name and password, you are now ready to download Osprey. If for some reason, you have successfully registered, but did not receive an email containing you password, please contact us ( see section 1.4 Contact Information ). Before downloading, you must first login to the downloads area using your newly acquired Osprey password.

| 2.1.3.1 Downloading for Windows |
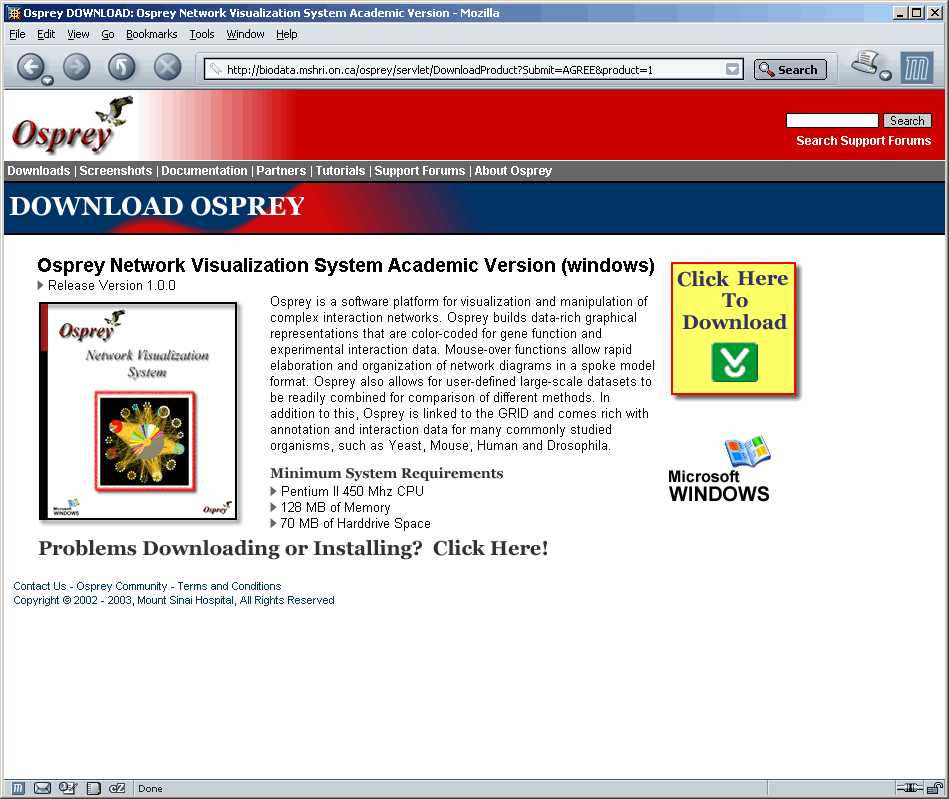
There are three major sections to the download page for windows. Each of these are necessary for downloading the Osprey Network Visualization System. The following is a listing of the three sections shown in figure 2.1.3.1 - 1:
| 2.1.3.2 Downloading for Red Hat |
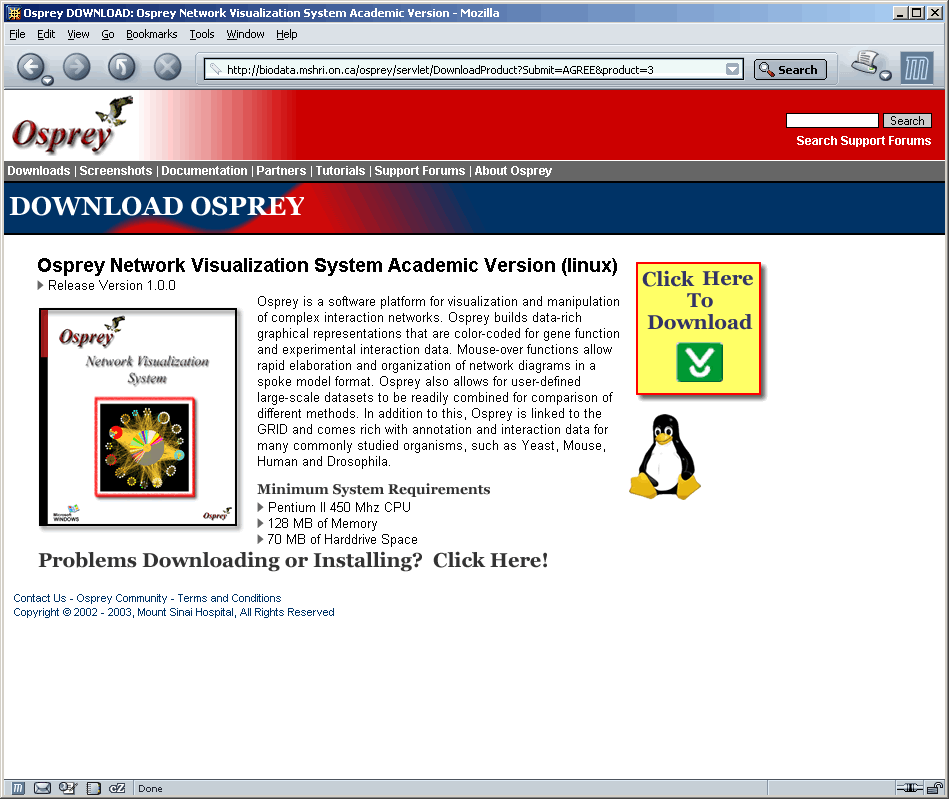
There are three major sections to the download page for Linux. Each of these are necessary for downloading the Osprey Network Visualization System. The following is a listing of the three sections shown in figure 2.1.3.1 - 1:
| 2.1.3.3 Downloading for Mac OS X |
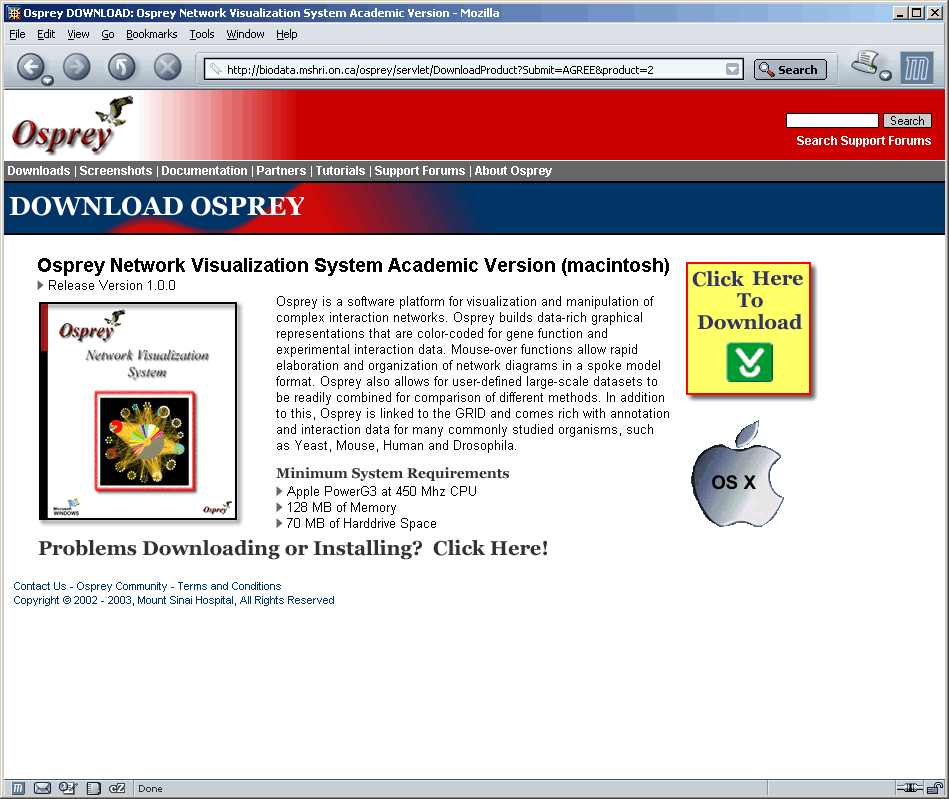
There are three major sections to the download page for Mac OS X. Each of these are necessary for downloading the Osprey Network Visualization System. The following is a listing of the three sections shown in figure 2.1.3.3 - 1:
| 2.2 Standard Installation Procedure for Microsoft Windows Systems ( ME, XP, 2000, 98, 95, NT ) |
In order to proceed with the Osprey installation for Windows, you must first download a copy of Osprey. If you have not yet obtained a copy, see section 2.1 Obtaining Osprey for more details. Once you have a copy of the Osprey installer ( osprey.exe ) you are ready to continue.
The Osprey installation is very simple and easy. Installation is completely free, and will take less than 5 minutes to complete. To proceed with installation, follow these steps:
1 ) Before installation you must extract, using WinZip (http://www.winzip.com/), the executable from the "osprey.zip" file obtained after downloading Osprey. To begin the installation, start by double-clicking the Osprey Installer ( osprey.exe ) and wait while Osprey initializes some packages required for installation.

Figure 2.2 - 1: The Osprey Installer Icon
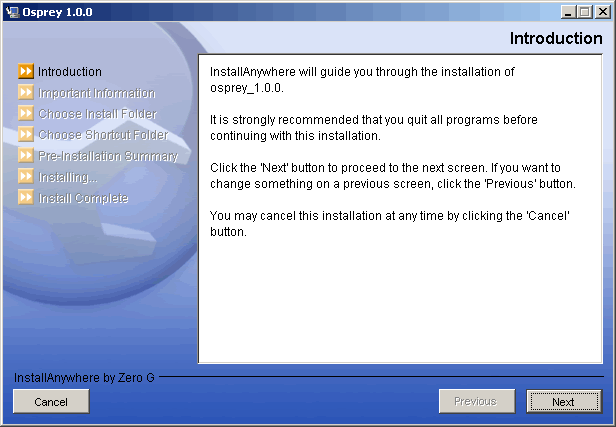
2) Once the Osprey installer has launched, you will be asked a series of questions about your installation. Firstly, you are presented with an introduction to the install procedure. Please read this carefully, and click "NEXT" to proceed.
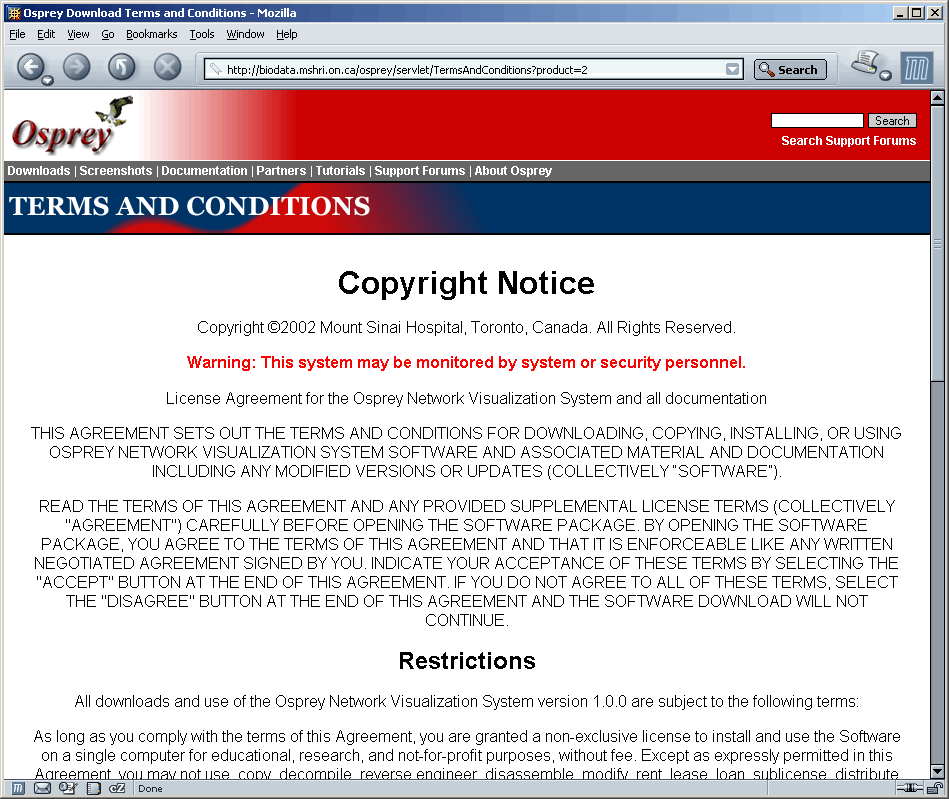
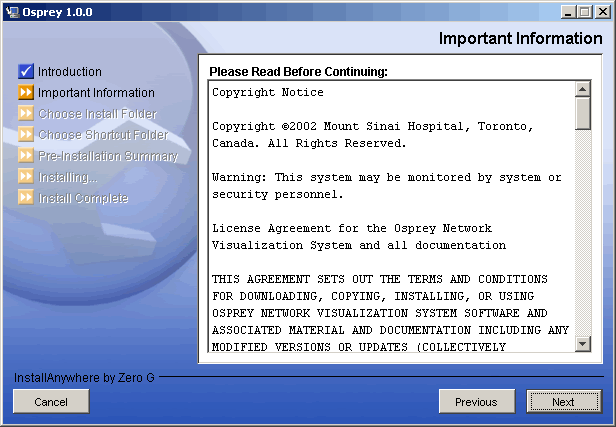
3) Next, you will be presented with the Osprey Network Visualization System User Agreement. Please read this carefully. By clicking "NEXT" you will agree to these terms and conditions. If you do not agree to the terms and conditions, simply click "CANCEL" at any time to abort the Osprey installation. If you agree, click the "NEXT" button to continue.
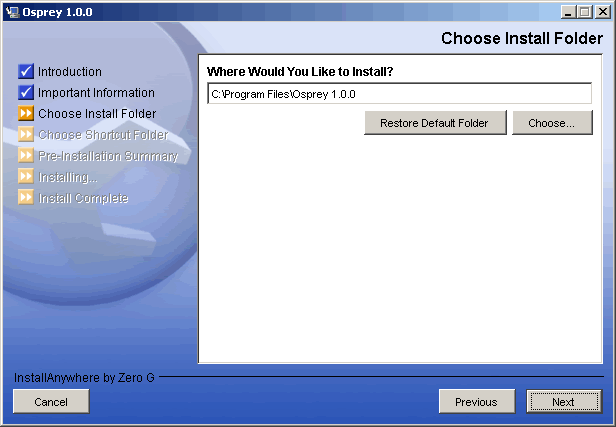
4) On the next screen, you will be asked about the installation folder for Osprey. By default, Osprey uses C:\Program Files\osprey_1.0.0 as an installation directory. If you would like to install in a different directory, select the new folder from this page. If you are happy with the default installation folder, click "NEXT" to continue.
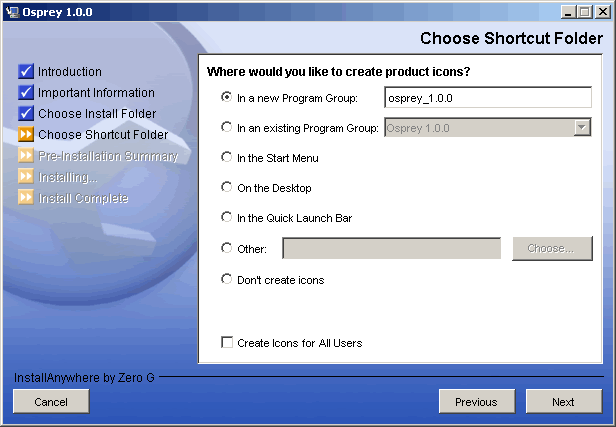
5) On the following screen, you will be presented with several options for installing Osprey shortcuts. By defaults, Osprey will install shortcuts into the start menu ( program group ) for you to access. If you would rather have the shortcuts installed elsewhere, you can customize these options to suit your preferences. When you have made your shortcut choice, click "NEXT" to continue.
6) The next page will outline the options you have selected in a pre-installation summary. Please review the information, and ensure that everything is correct, and click "NEXT" to continue.

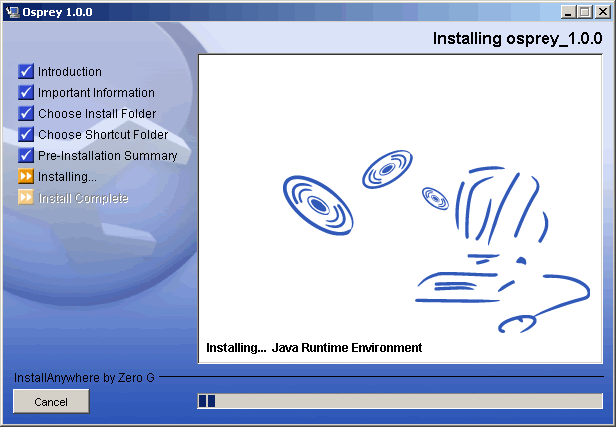
7) The Osprey install will now copy all of the files needed to run Osprey. This process will take only a few minutes to run.
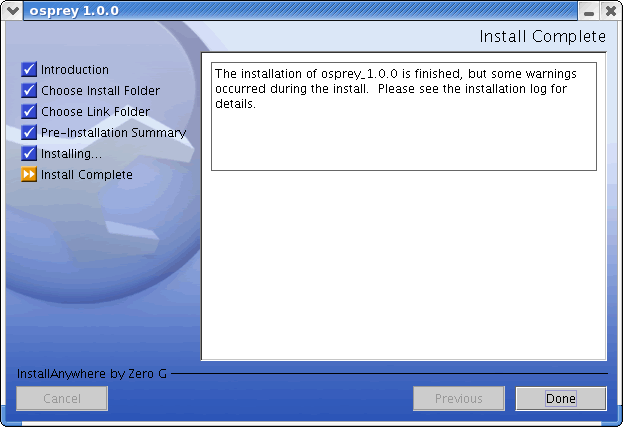
8) Now the Osprey installation is complete. Click on the "DONE" button to finish the install and close the Osprey installer.
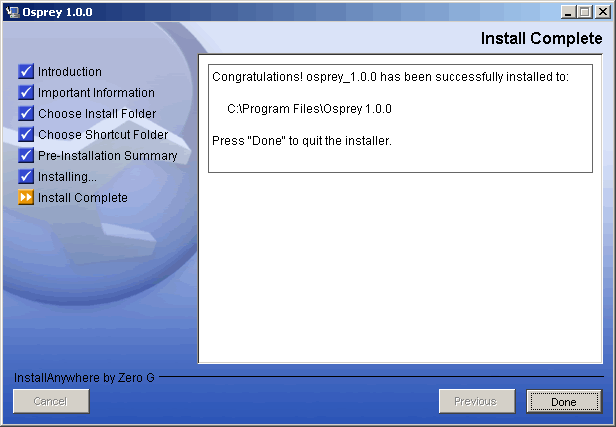
Figure 2.2 - 9: Osprey Install Complete
| 2.3 Standard Installation Procedure for Red Hat Linux Systems ( versions 7.3 or Higher ) |
In order to proceed with the Osprey installation for Linux, you must first download a copy of Osprey. If you have not yet obtained a copy, see section 2.1 Obtaining Osprey for more details. Once you have a copy of the Osprey installer ( osprey.tar.gz ) you are ready to continue.
The Osprey installation is very simple and easy. Installation is completely free. To proceed with installation, follow these steps:
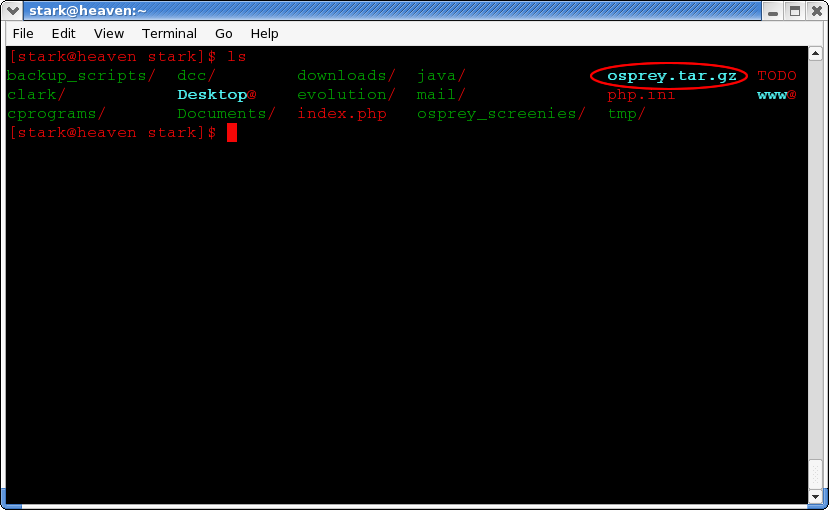
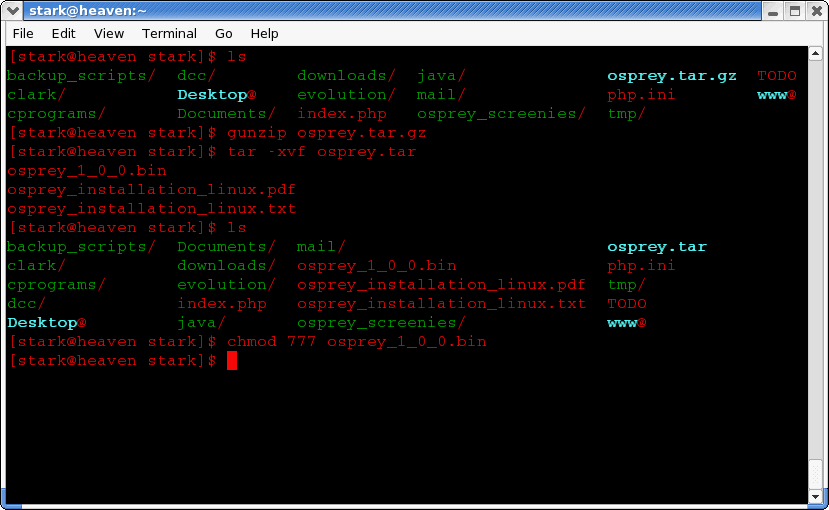
1) Once you have downloaded Osprey to your local file system, you will have a file called osprey.tar.gz. This is the compressed file containing the Osprey installer. You will need to extract it before proceeding which we will cover in the next few steps.
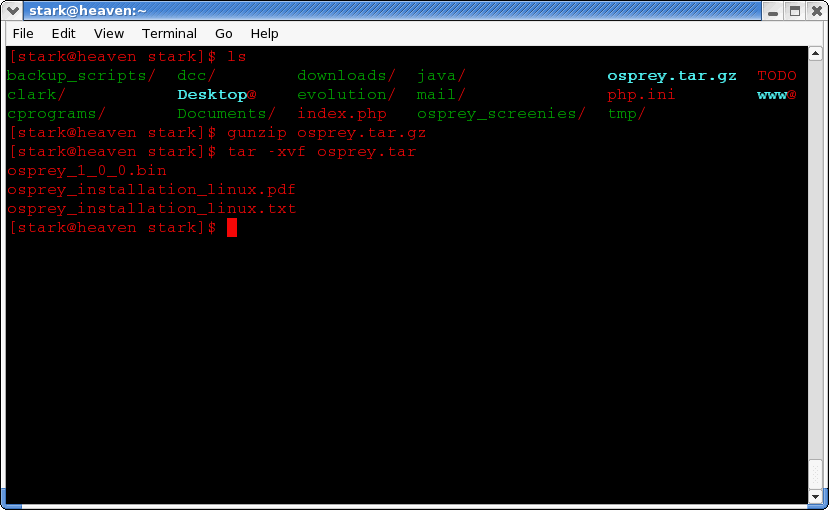
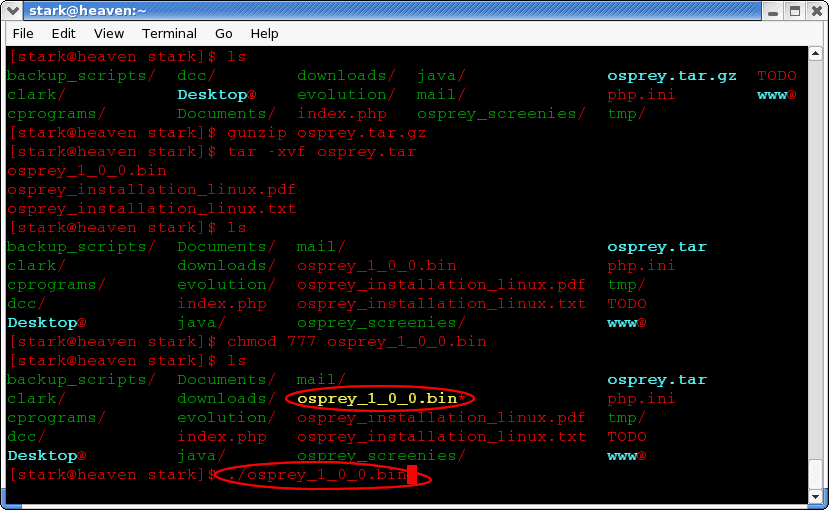
3) In order to execute the Osprey installer, you will have to set its permissions. To do this, type "chmod 777 osprey_1_0_0.bin" at the command prompt (see figure 2.3-3)
4) Once you have modified the permissions on the file, you can now execute the osprey installer by typing: "./osprey_1_0_0.bin" at the command prompt
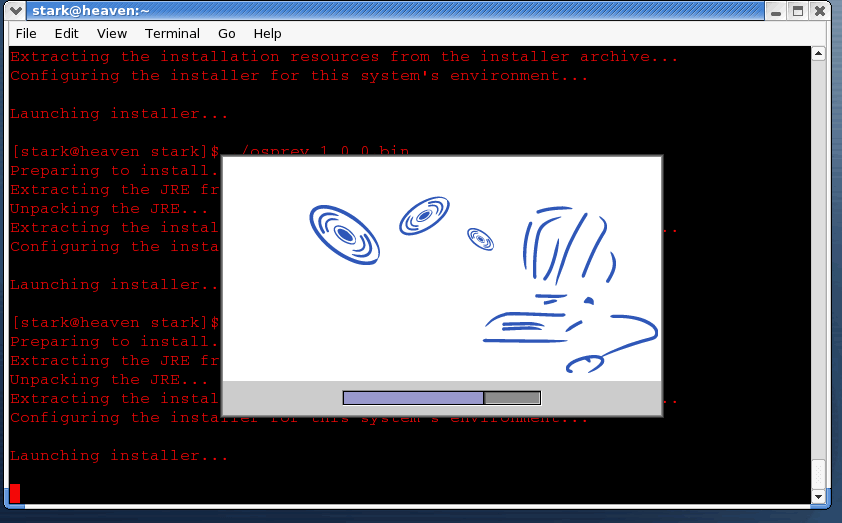
5) The Osprey installer will now launch, and the installation application will initialize
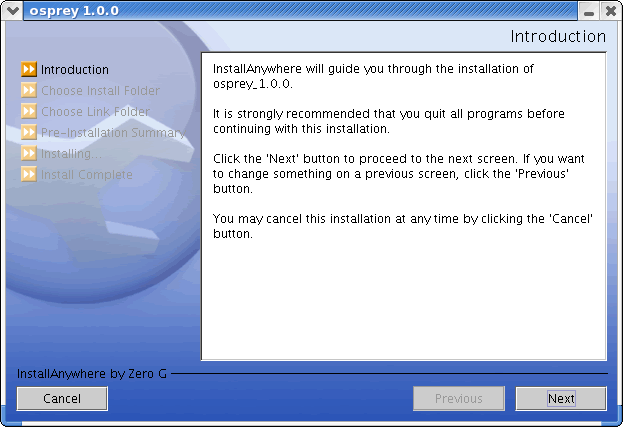
6) Once the Osprey installer has launched, you will be asked a series of questions about your installation. Firstly, you are presented with an introduction to the install procedure (fig 2.3-6) Please read this carefully, and click "NEXT" to proceed.
7) Next, you will be presented with the Osprey Network Visualization System User Agreement. Please read this carefully. By clicking "NEXT" you will agree to these terms and conditions. If you do not agree to the terms and conditions, simply click "CANCEL" at any time to abort the osprey installation. If you agree, click the "NEXT" button to continue.

8) On the next screen, you will be asked about the installation folder for Osprey. By default, Osprey uses /$home/Osprey as an installation directory. If you would like to install in a different directory, select the new directory from this page. If you are happy with the default installation folder, click "NEXT" to continue.
9) On the following screen, you will be presented with several options for installing Osprey shortcuts. By defaults, Osprey will install shortcuts into your home folder for you to access. If you would rather have the shortcuts installed elsewhere, such as /usr/bin, you can customize these options to suit your preferences. When you have made your shortcut choice, click "NEXT" to continue.
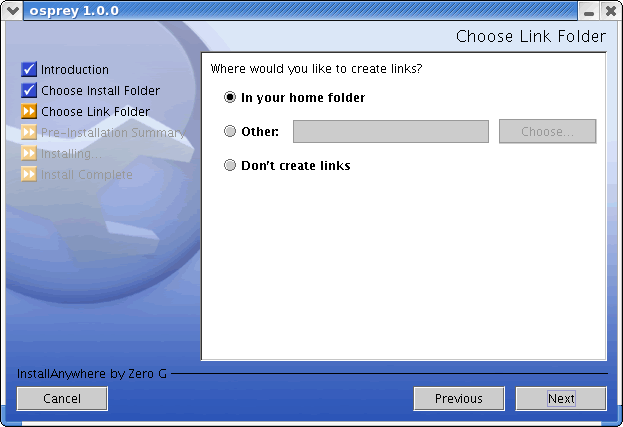
Figure 2.3 - 9: Osprey Installation Choose Shortcut Folder page
| 2.4 Standard Installation Procedure for Mac OS X ( versions 10.2 or Higher ) |
In order to proceed with the Osprey installation for Mac OS X, you must first download a copy of Osprey and have java 1.4.1 working. Please run the software update to check if you need to install the latest java for your Mac. If you have not yet obtained a copy, see section 2.1 Obtaining Osprey for more details. Once you have a copy of the Osprey zip file ( osprey.zip ) you are ready to continue.
The Osprey installation is very simple and
easy. Installation is completely free. To proceed with installation,
follow these steps:
1 ) To begin the installation, start by executing the osprey.zip file, see figure 1, and wait while Stuffit unzips the Osprey installer program, see figure 2, to continue execute this file. Note you will need to have already installed stuffit onto your computer, see http://www.stuffit.com/expander/ for more info.
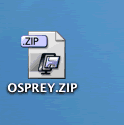
Figure 1: The Osprey.zip Icon
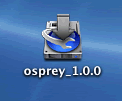
Figure 2: Stuffit unzips the osprey installer program
2) Once the osprey installer has launched, you will be asked a series of questions about your installation. Firstly, you are presented with an introduction to the install procedure, see figure 3. Please read this carefully, and click "NEXT" to proceed.
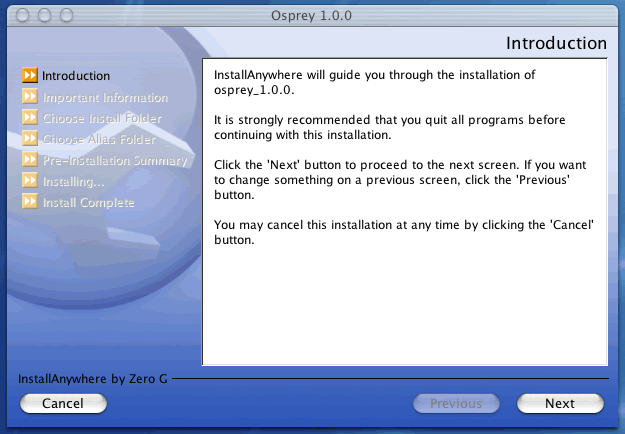
Figure 3: Osprey installation introduction
3) Next, you will be presented with the Osprey Network Visualization System User Agreement, see figure 4. Please read this carefully. By clicking "NEXT" you will agree to these terms and conditions. If you do not agree to the terms and conditions, simply click "CANCEL" at any time to abort the osprey installation. If you agree, click the "NEXT" button to continue.
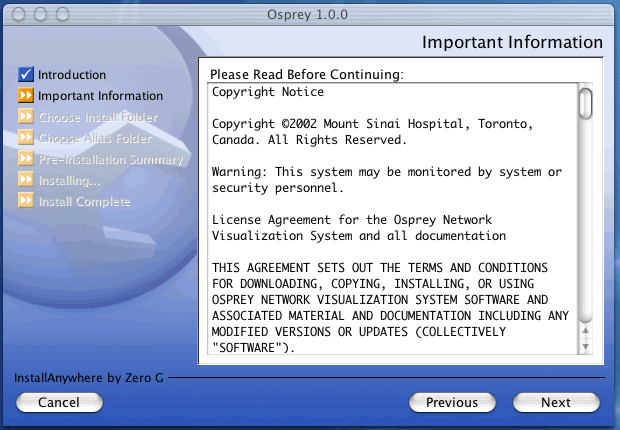
Figure 4: Osprey Network Visualization System User Agreement
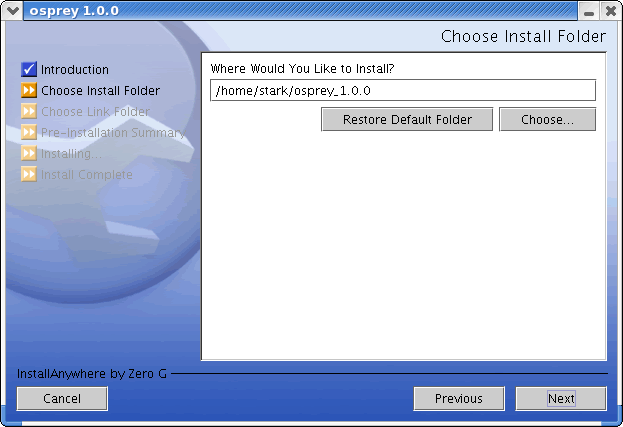
4) On the next screen, you will be asked about the installation folder for Osprey, see figure 5. By default, this would be located on the disk inside "osprey_1.0.0" in the folder "Applications" as an installation directory. If you would like to install in a different directory, select the new folder from this page. If you are happy with the default installation folder, click "NEXT" to continue.

Figure 5: The Osprey Installation Choose Install Folder page
5) On the following screen, you will be presented with several options for installing osprey shortcuts, see figure 6. By default, Osprey will install shortcuts on the desktop for you to access. If you would rather have the shortcuts installed elsewhere, you can customize these options to suit your preferences. When you have made your shortcut choice, click "NEXT" to continue.
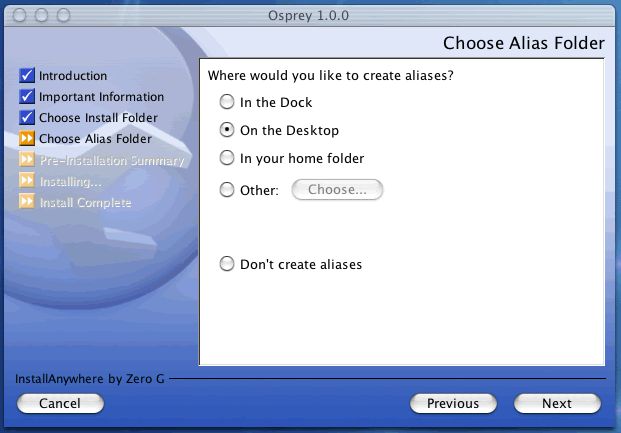
Figure 6: Osprey Installation Choose Shortcut Folder page
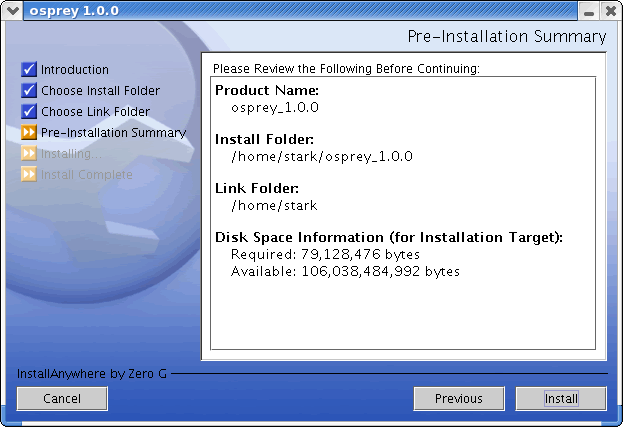
6) The next page will outline the options you have selected in a pre-installation summary, see figure 7. Please review the information, and ensure that everything is correct, and click "NEXT" to continue.
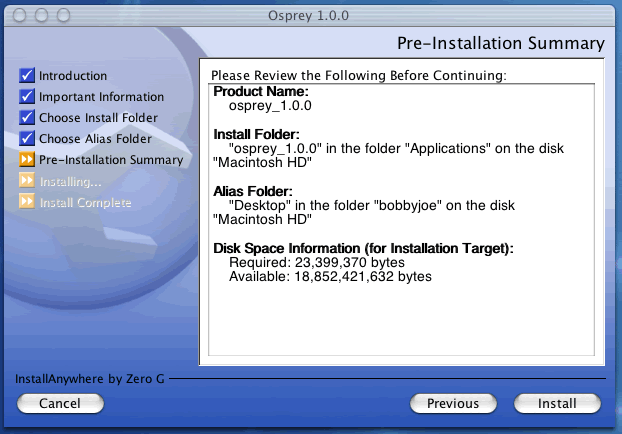
Figure 7: Osprey Pre-Installation Summary
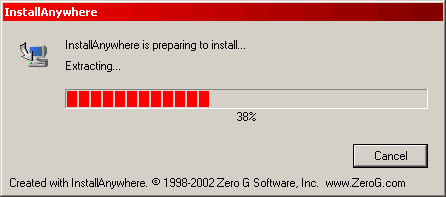
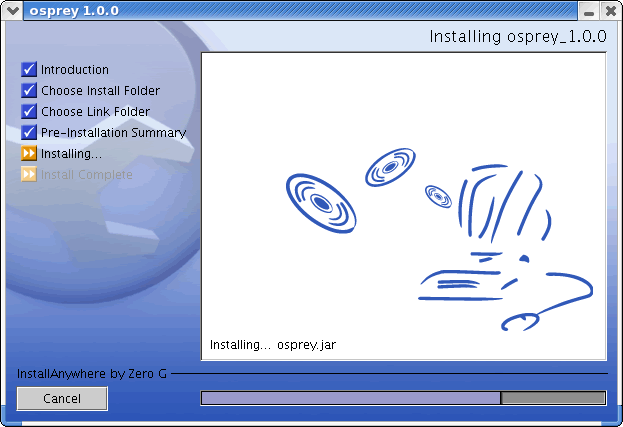
7) The Osprey install will now copy all of the files needed to run Osprey, see figure 8.
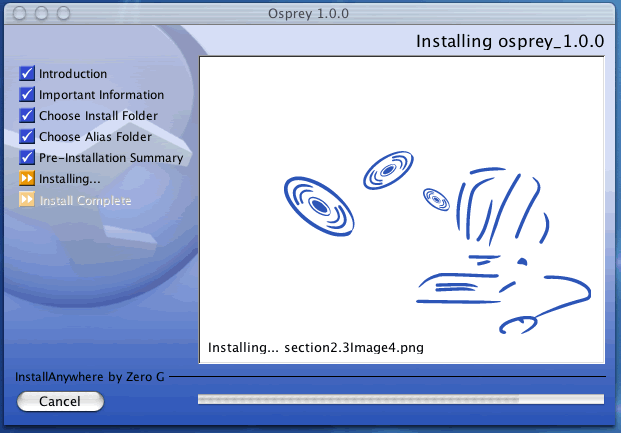
Figure 8: Osprey install progress copying files to your computer
8) Now the Osprey installation is complete, see figure 9. Click on the "DONE" button to finish the install and close the Osprey installer.
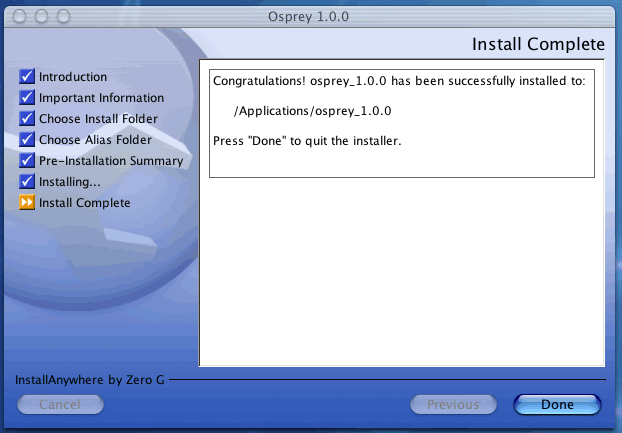
Figure 9: Osprey Install Complete
| 2.5 Post Installation |
This section assumes that you have previously installed Osprey on
your computer. If you have not installed Osprey, see section 2.2 Standard Installation Procedure for Microsoft
Windows Systems ( ME, XP, 2000, 98, 95, NT ) or section 2.3 Standard Installation Procedure for Red Hat Linux
Systems ( versions 7.3 or Higher ) or section 2.4
Standard Installation Procedure for Mac OS X ( versions 10.2 or Higher )
for installation procedures.
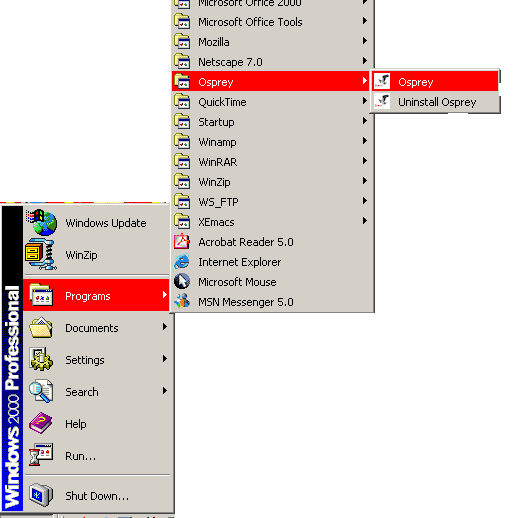
| 2.5.1 Running Osprey on Microsoft Windows Systems ( ME, XP, 2000, 98, 95, NT ) |
Once Osprey has been installed on your computer, you can now start the application by clicking on the Osprey shortcut. If you used the default install options this shortcut will exist in your start menu in Windows, see figure 2.5-1.
| 2.5.2 Running Osprey on Red Hat Linux Systems ( versions 7.3 or Higher ) |
| 2.5.3 Running Osprey on Mac OS X ( versions 10.2 or Higher ) |
After you have installed Osprey onto your Mac OS X, you can run the
program one of two ways:
1.) By executing the "osprey_1.2.0.app" file or the "osprey.jar" file
located where the Osprey program was installed, by default this would be
located on the disk inside "osprey_1.2.0" in the folder "Applications",
see figure 2.5.3-1.
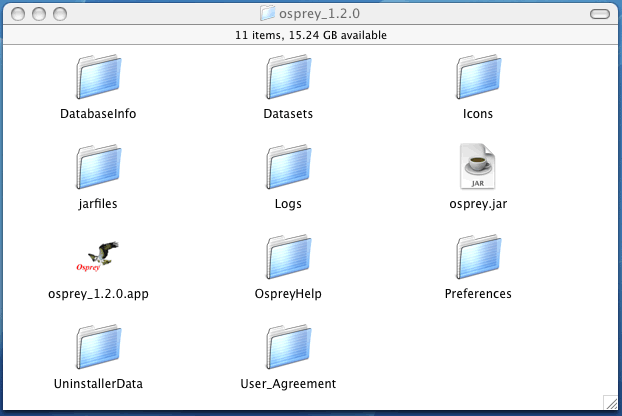
Figure 2.5.3-1: Default Osprey Location
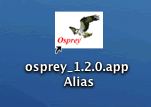
2.) If you created an alias for Osprey then you can execute the
alias to the file "Osprey_1.2.0.app", by default this should have been
placed on the desktop, see figure 2.5.3-2.
| 2.6 Common Installation Issues |
The following are common errors that may occur during an Osprey installation. If you notice any errors that are not listed here, please contact us ( see section 1.4 Contact Information to let us know about the problem.
| 2.7 Uninstalling Osprey |
| 2.7.1 Uninstalling Osprey on Microsoft Windows Systems ( ME, XP, 2000, 98, 95, NT ) |
If you no longer want to have Osprey installed on your computer, you can quickly uninstall it by choosing the Uninstall Osprey shortcut. Simply follow the instructions in the Osprey uninstaller to completely remove Osprey from your system.
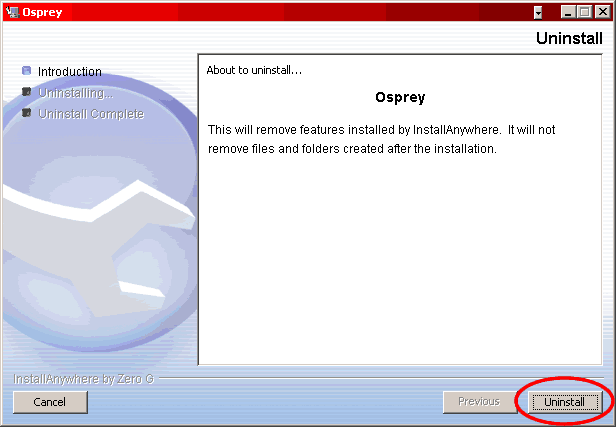
When you start the uninstaller, please read carefully the warning provided, and if you are sure you want to continue uninstalling, click "UNINSTALL"
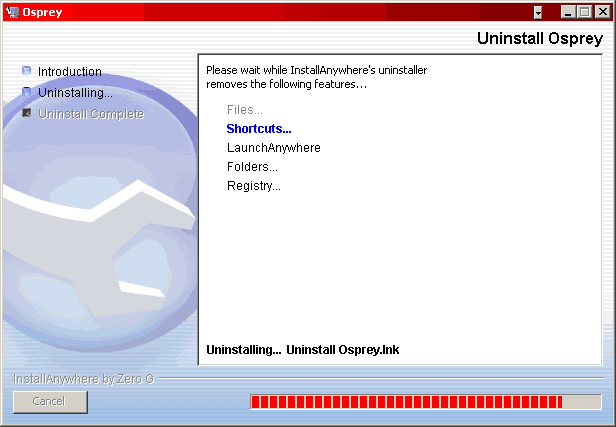
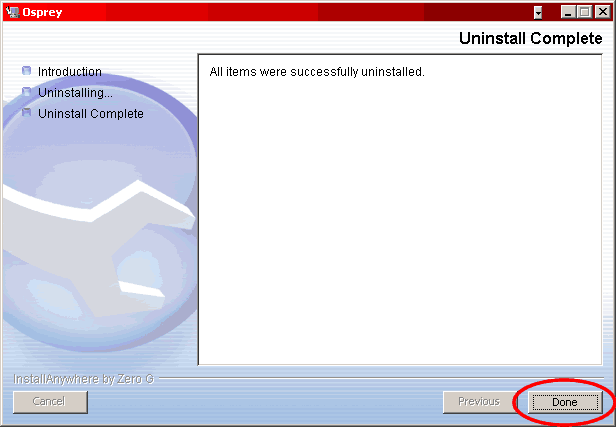
The Uninstaller will completely remove Osprey from your system. When the uninstall process completes, Osprey will be gone from your computer.
Click "DONE" to close the Osprey installer
| 2.7.2 UninstallingOsprey on Red Hat Linux Systems ( versions 7.3 or Higher ) |
| 2.7.3 Uninstalling Osprey
on Mac OS X ( versions 10.2 or Higher ) |
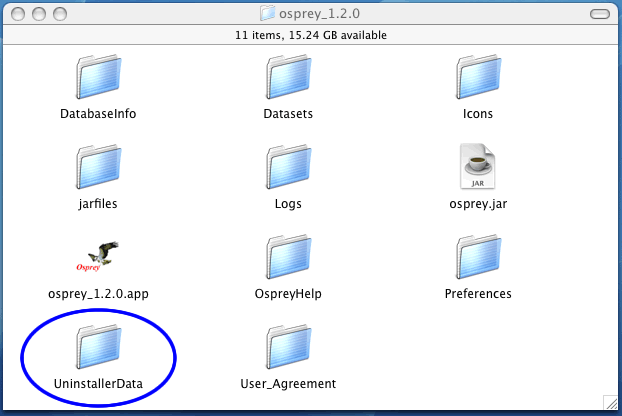
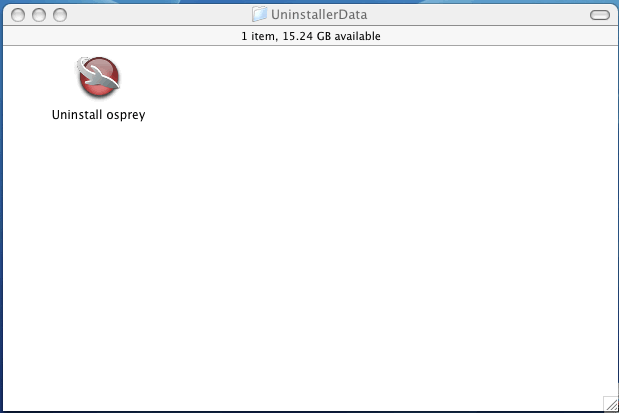
The unistall program for the Mac OS X has the same steps as the Windows version, see section 2.7.1 Uninstalling Osprey on Microsoft Windows Systems ( ME, XP, 2000, 98, 95, NT ), for details. The only difference is the unistall program is located in a folder called "UninstallerData" located in the default location in which Osprey was loaded, , see figure 2.7.3-1. Inside this folder you'll find the unistaller program, "Unistall osprey", see figure 2.7.3-2.
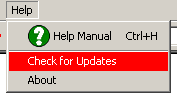
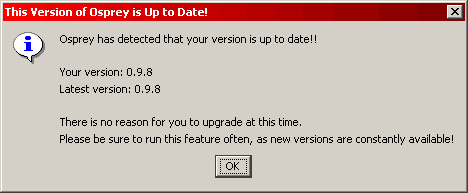
| 2.8 Version Checking |
Osprey offers a version checking feature that goes to the osprey web site and finds out whether or not you are currently running the most recent version of Osprey. For best results it is a good idea to do this check periodically and download the most up-to-date version of Osprey as we will constantly be implementing new features that you will want to take advantage of. For more information on Osprey patches and updates, see appendix C. Future Updates and Obtaining Patches
There are two major ways to check your version of Osprey:

The Osprey Administrator
E-mail: ospreyadmin@mshri.on.ca
Copyright ©2002 Mount Sinai Hospital, Toronto, Ontario, Canada
Go to the table of contents